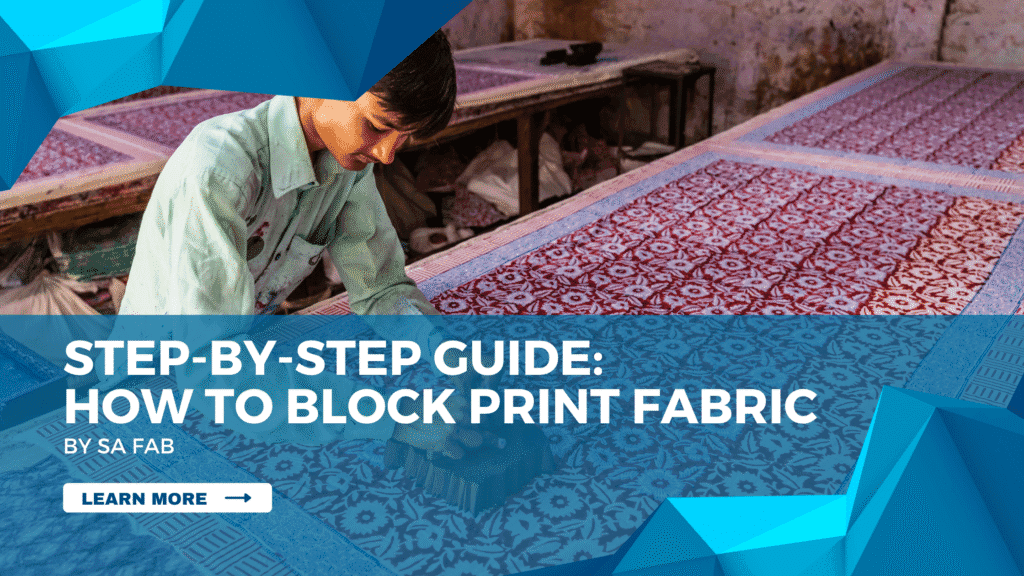
How to Block Print Fabric: Your Ultimate Step-by-Step Guide
Block printing is a timeless craft that empowers you to transform plain fabric into unique, handmade works of art. But what exactly is block printing? It’s a traditional method of printing patterns onto textiles using carved blocks, a technique celebrated for centuries across diverse cultures. The beauty of learning how to block print fabric lies in its simplicity and the creative freedom it offers. With just a few basic tools and a splash of inspiration, you can create stunning designs.
This guide will walk you through everything you need to know, from understanding the basics to mastering the essential techniques. Whether you’re a DIY enthusiast, an aspiring textile artist, or simply seeking a rewarding new hobby, let’s dive into the fascinating world of block printing!
Understanding the Charm of Block Printing
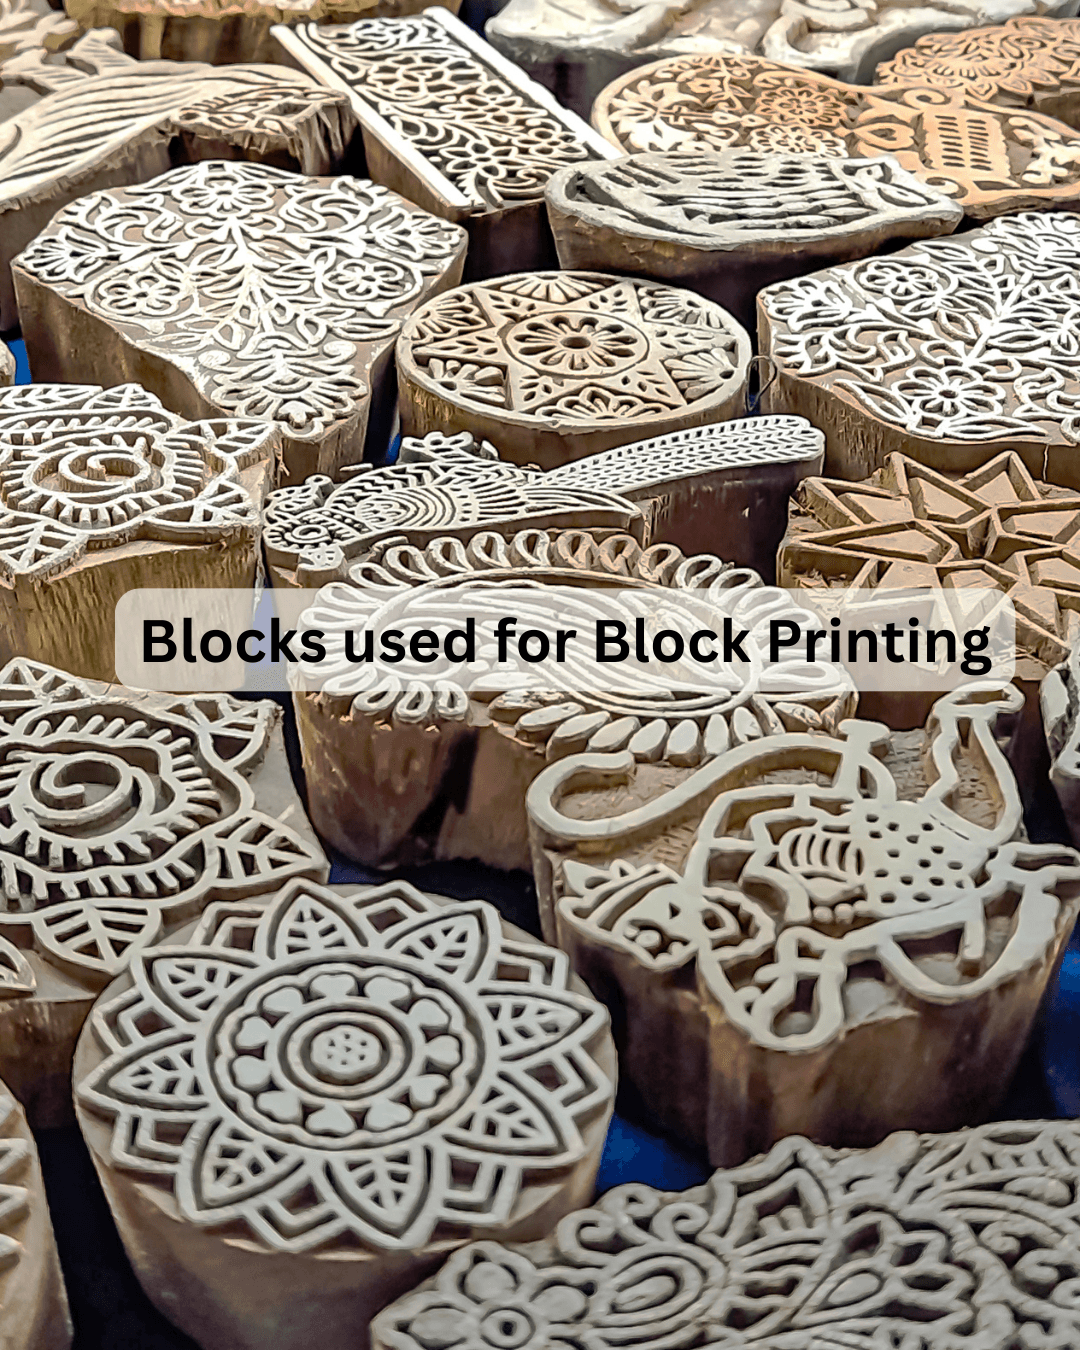
Block printing is a remarkable craft where artistry meets hands-on creation. Artists use carved blocks (often wood, linoleum, or rubber) as stamps. Ink or dye is applied to the block’s raised design, which is then pressed firmly onto fabric, transferring the pattern.
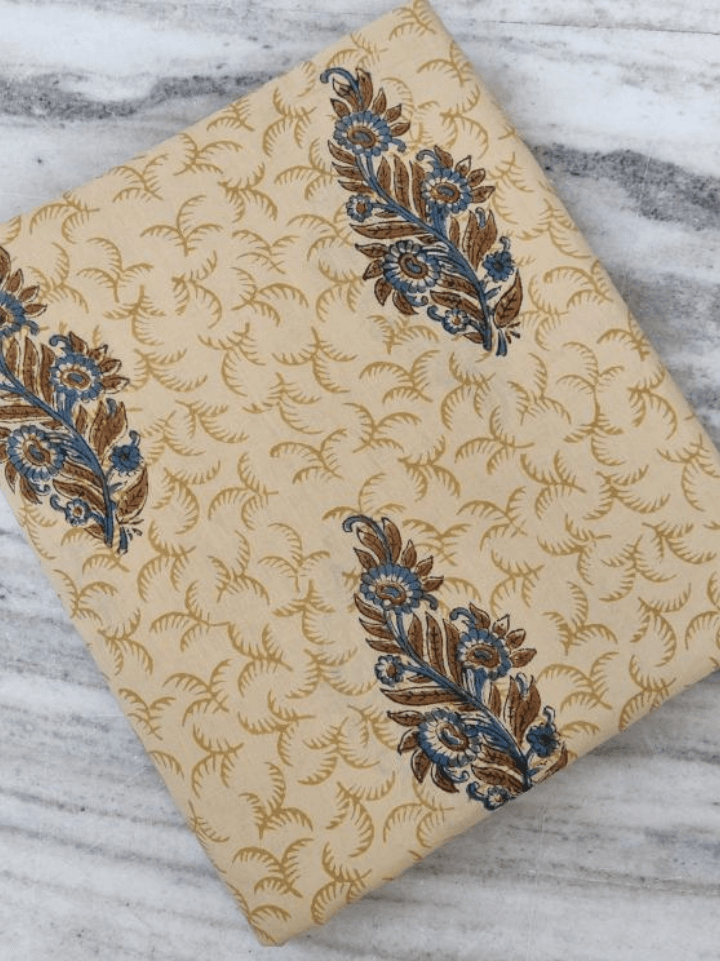
One of the most cherished aspects of block printing is the unique character of each print. Slight variations are natural and add to the charm, making every piece truly one-of-a-kind—a valued quality in our world of mass production.
A Glimpse into History:
Block printing boasts deep historical roots, dating back over a thousand years to China’s Tang Dynasty. It journeyed to India, Japan, and Europe, becoming a prominent textile art. In India, particularly in regions like Rajasthan, block printing is a revered tradition with distinct styles and motifs reflecting local culture. Globally, it’s a means of storytelling and cultural preservation.
Getting Started: What You Need to Block Print Fabric
Preparation is key to a smooth and successful block printing experience. Gathering the right materials and setting up your workspace properly will set the stage for creativity.
1. Essential Tools and Materials:
Here’s a basic list of what you’ll need to learn how to block print fabric:
- Blocks for printing: Wood, linoleum, or soft rubber blocks.
- Carving tools: Linoleum cutters or carving knives with various blade sizes.
- Fabric ink or fabric-safe dye: Choose good quality, washable inks. Water-based inks are often easier to clean.
- Brayer (ink roller): For applying an even coat of ink to your block.
- Inking plate: A smooth, flat surface (like a piece of glass or an acrylic sheet) to roll out your ink.
- Printing pad or cushion (optional but recommended): A slightly soft surface (like a layer of felt or foam covered with fabric) placed under your printing fabric for even impressions.
- Fabric: Natural fibers like cotton, linen, or silk work best. Wash and iron it before printing.
- Sketch paper and pencil: For designing.
- Tracing paper & a blunt pencil/stylus: For transferring designs.
- Paper towels or rags: For cleanup.
- Iron: For heat setting the ink.
2. Choosing the Right Fabric:
Cotton and linen are popular choices as their natural fibers absorb ink well, yielding vibrant prints. Smoother fabrics allow for sharper designs, while textured ones can add character (though intricate details might blur). Consider your project: breathable fabrics for clothing, durable ones for home decor.
3. Setting Up Your Workspace:
- Space: Choose a flat, stable, and spacious area.
- Protection: Cover your work surface to protect it from ink.
- Lighting: Good lighting is crucial for seeing details during carving and printing.
- Organization: Keep your tools and materials within easy reach to maintain a smooth workflow.
Step 1: Designing Your Block Print
This is where your creativity shines!
- Brainstorm: Think about themes, motifs (florals, geometrics, abstract), and the scale of your design.
- Sketch: Draw your ideas on paper. Don’t worry about perfection at this stage.
- Simplify: Remember that your design will be carved. Complex designs with very fine lines can be challenging for beginners. Bold shapes often work well.
- Consider Repeats: If you plan to create a repeating pattern, think about how the edges of your design will meet.
Step 2: Transferring Your Design to the Block
Once your design is finalized:
- Trace: If your design includes text or needs a specific orientation, remember it will print in reverse. You might need to flip your design before tracing. Trace your final design onto tracing paper with a soft pencil.
- Transfer: Place the tracing paper pencil-side down onto your block. Rub over the lines firmly with a blunt pencil or stylus to transfer the graphite onto the block surface.
- Refine: Lift the tracing paper and go over the transferred lines directly on the block with a pencil if needed to make them clearer.
Step 3: Carving Your Block – Bringing Your Design to Life
This is where your 2D design becomes a 3D printing tool!
- Safety First! Always carve away from your body and hands. Keep your non-carving hand behind the tool’s path. Ensure your carving tools are sharp; dull tools require more pressure and are more dangerous.
- Secure the Block: Place your block on a non-slip mat or secure it to prevent movement.
- Outline First: Begin by carving the outlines of your design using a small, V-shaped gouge. Apply steady, even pressure. You’re removing the areas that you don’t want to print.
- Clear Negative Space: Once outlines are done, use wider U-shaped gouges to clear larger areas of negative space (the parts that won’t receive ink).
- Depth: Carve deep enough so that the negative spaces won’t pick up ink and smudge your print, but not so deep that you weaken the block.
- Patience: Take your time. You can always remove more material, but you can’t put it back.
- Clean Up: Once carving is complete, use a stiff brush to remove any loose bits of block material.
Step 4: Inking Your Block
Even ink application is crucial for a crisp print.
- Prepare Ink: Squeeze a small amount of fabric ink onto your inking plate.
- Load Brayer: Roll your brayer back and forth through the ink until it’s evenly coated with a thin, tacky layer. You should hear a slight “hissing” or sticky sound.
- Ink the Block: Roll the inked brayer over the carved surface of your block. Ensure all raised parts of your design are evenly covered. Avoid getting ink into the carved-out areas. Multiple thin coats are better than one thick coat.
Step 5: Printing on Fabric – The Magic Moment!
This is how you block print your fabric:
- Test Print: Always do a test print on scrap fabric first! This helps you check ink coverage, pressure, and alignment.
- Position Fabric: Lay your main fabric flat on your printing pad or prepared surface.
- Position Block: Carefully position your inked block face down onto the fabric where you want the print.
- Apply Pressure: Press down firmly and evenly on the back of the block. You can use your hands, a clean brayer, or a tool called a baren. Ensure pressure is applied to all parts of the design.
- Lift Carefully: Gently lift the block straight up to avoid smudging the print.
- Admire and Repeat: You’ve made your first print! Re-ink your block for each subsequent impression. If creating a repeating pattern, carefully align your block for the next print. Using guidelines drawn lightly with a disappearing fabric marker or chalk can help.
Step 6: Curing and Heat Setting – Making Your Print Last
For your design to be permanent and washable:
- Dry Completely: Allow the printed fabric to air dry thoroughly. This can take anywhere from a few hours to 24 hours or more, depending on the ink and humidity. Lay flat or hang.
- Heat Set: Once completely dry, you need to heat set the ink. Most fabric inks require this.
- Ironing: Place a pressing cloth (a piece of scrap cotton fabric) over the printed design or iron on the reverse side. Use a dry iron on a setting appropriate for your fabric (usually cotton/linen setting, no steam). Iron for the duration recommended by your ink manufacturer (typically 2-5 minutes), keeping the iron moving.
- Always check the ink manufacturer’s specific instructions for drying and heat-setting times and temperatures
Troubleshooting Common Block Printing Issues
- Uneven Prints: Caused by uneven ink on the block or inconsistent pressure during printing. Ensure thorough inking and apply even pressure. A padded surface helps.
- Smudging: Too much ink on the block, or the block slipped during printing. Use less ink (thin, even coats) and lift the block carefully.
- Fuzzy Edges: Often due to too much ink or the fabric weave being too loose.
- Ink Not Transferring: Not enough ink, or not enough pressure.
- Misaligned Patterns: Practice placement. Use light guidelines on your fabric if needed.
Cleaning Your Blocks: Clean your blocks immediately after use with water (for water-based inks) and a soft brush or cloth. Dried ink is much harder to remove. Store blocks flat in a cool, dry place.
Creative Ideas for Your Block Printed Fabric
Now that you know how to block print fabric, the possibilities are endless!
- Home Decor: Create custom tea towels, pillowcases, curtains, tablecloths, napkins, or wall hangings.
- Clothing & Accessories: Print on t-shirts, tote bags, scarves, or even create your own fabric yardage for sewing projects.
- Gifts: Handmade block-printed items make thoughtful and unique presents.
- Upcycling: Revamp old clothes or linens with fresh new patterns.

The Joy of Creating with Block Printing
Learning how to block print fabric is a deeply rewarding experience. It connects you to an ancient art form while allowing for complete personal expression. Don’t be afraid to experiment with designs, colors, and fabrics. Each print you make will carry your unique touch. Embrace the imperfections – they are part of the beauty of handmade.
Enjoy the process of creating something truly special with your own two hands!